From first client to paid invoice in five steps
No setup calls, no training and no templates to study. Here is everything that happens between signing up and getting paid for your first project.
- 01
Add your clients
A name, a contact and billing details. Each client gets its own space.
- 02
Create a project
Start with ready-made sections or name your own.
- 03
Plan the work
Tasks with owners, due dates, priority, status and files.
- 04
Invite your client
They follow progress live and see only what you share.
- 05
Quote and invoice
Send a quote, turn it into an invoice and record payments.
Add your clients
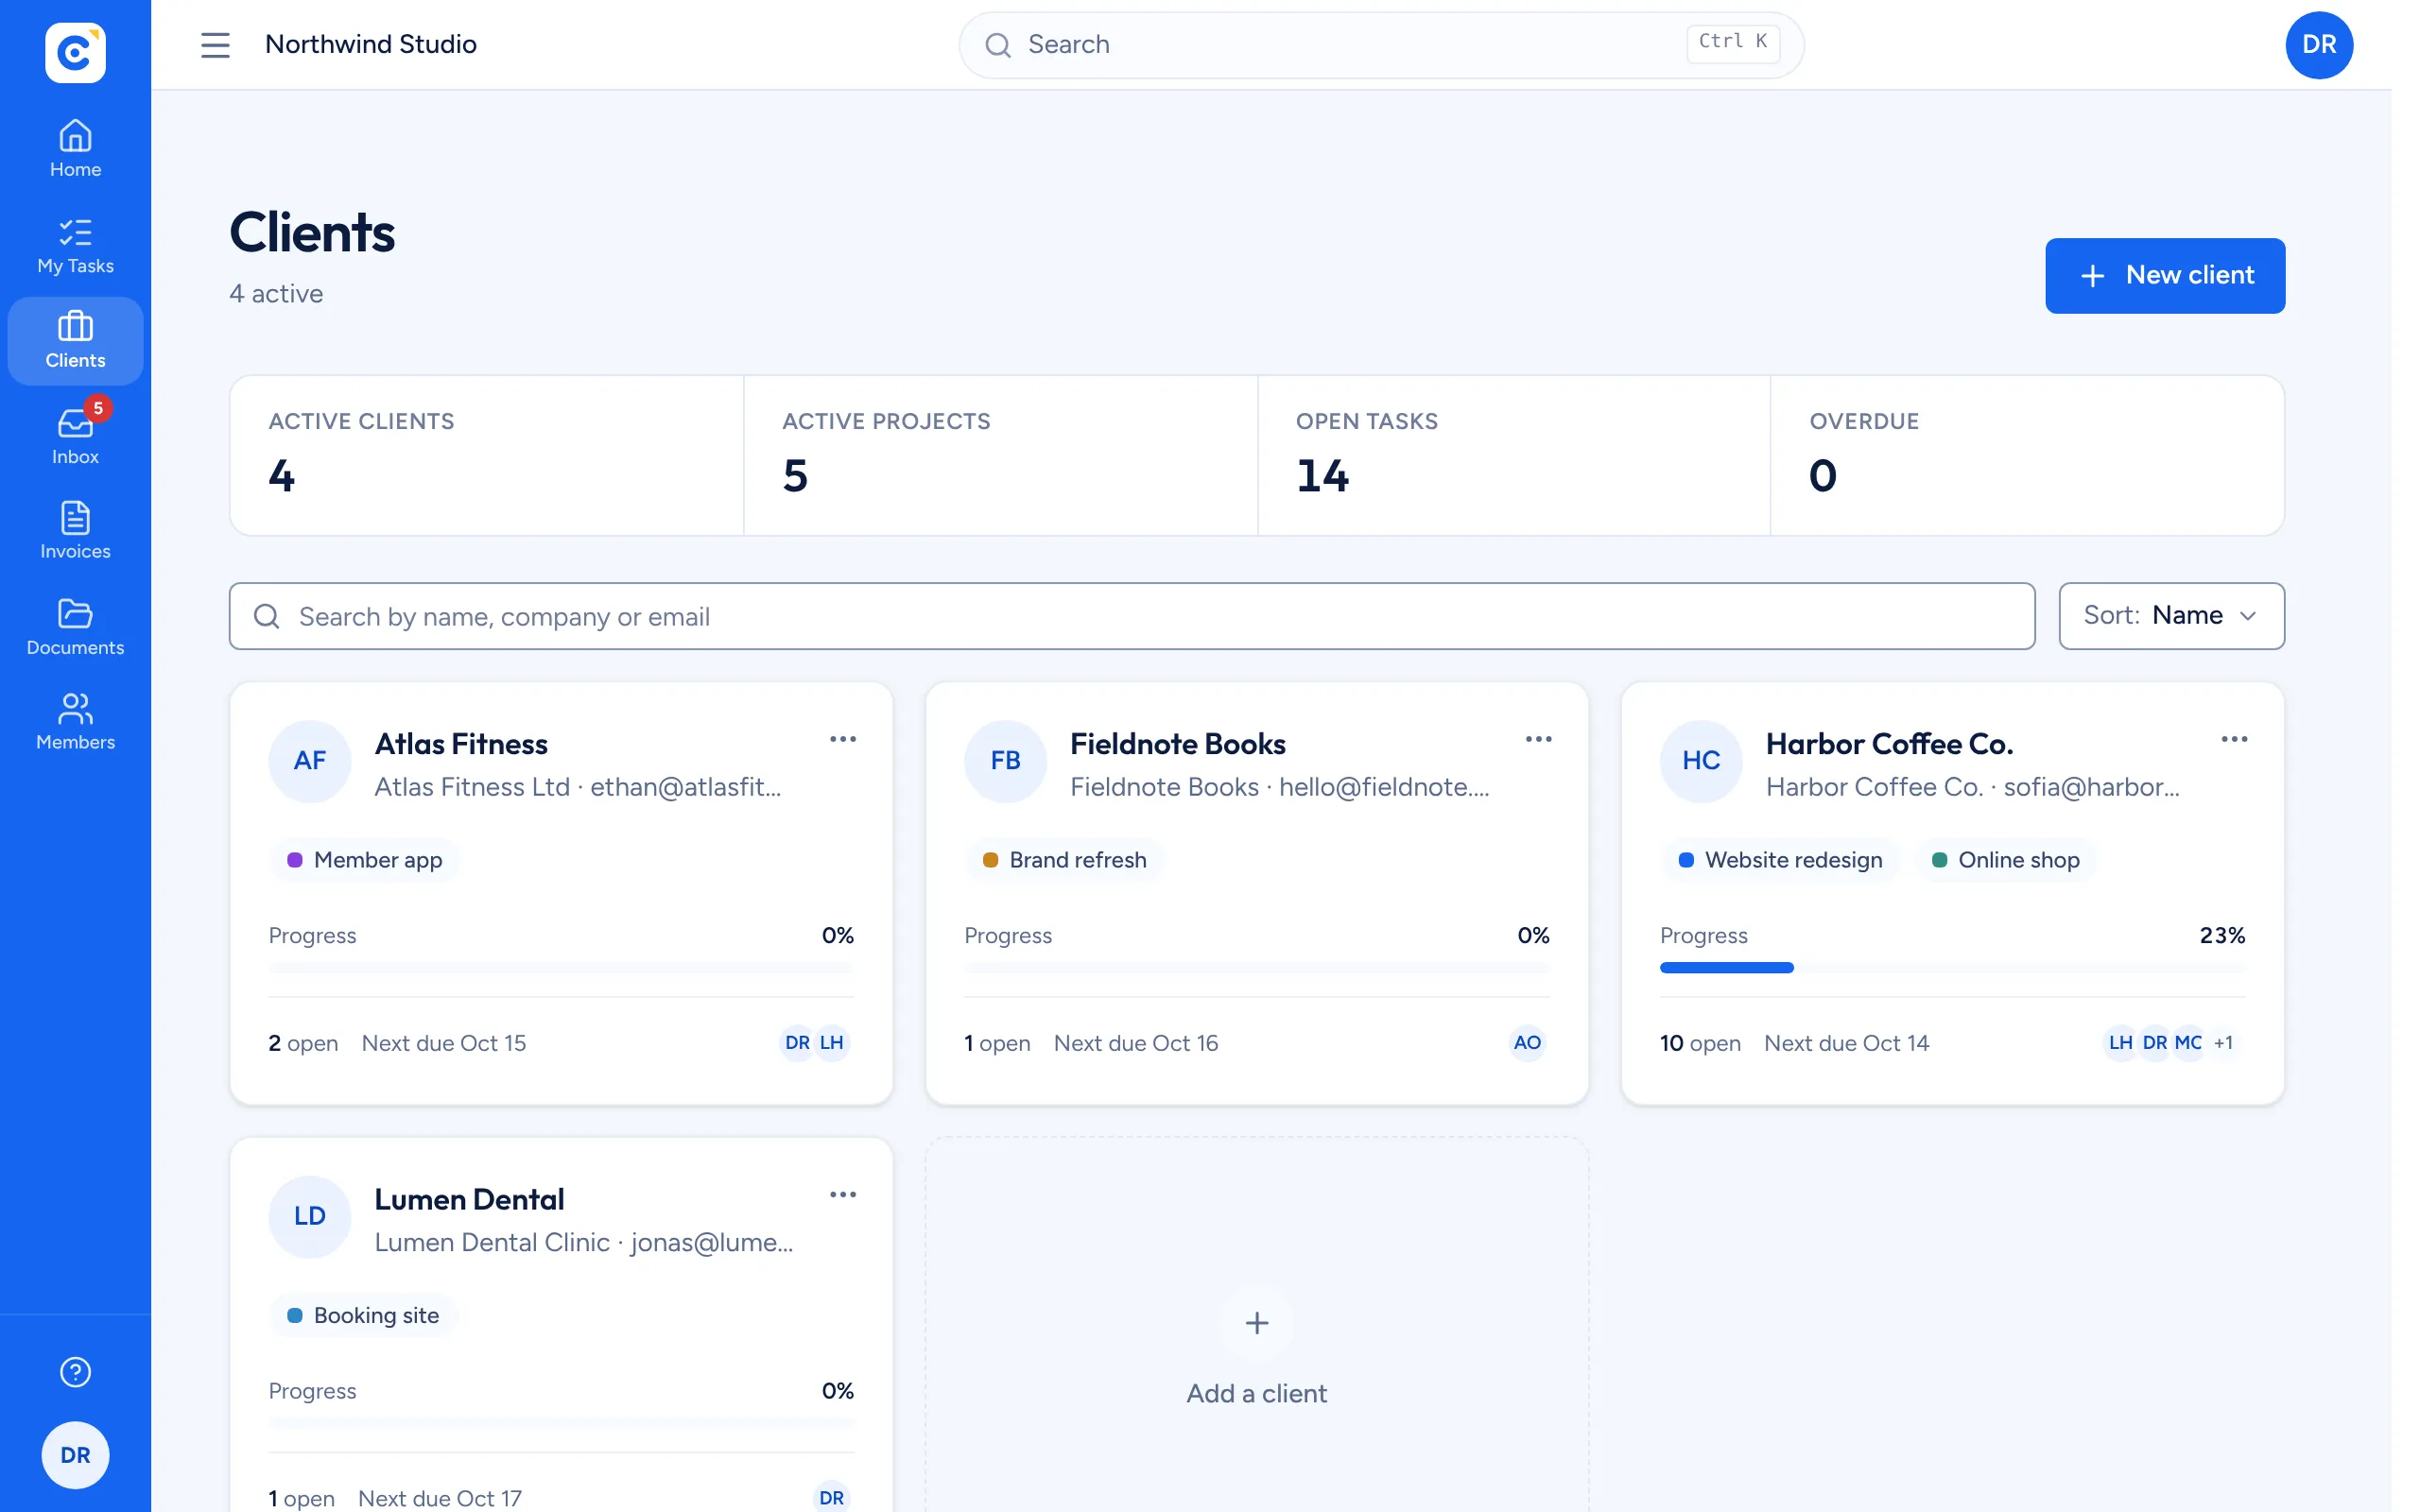
Start with the companies and people you work for. A client holds everything you do for them: projects, tasks, files, quotes and invoices. Clientfolk creates a document folder for each one, and the client list shows progress and the next deadline for all of them.
- Unlimited clients
- Contact and billing details reused on every invoice
- Archive a client when the work ends
Create a project
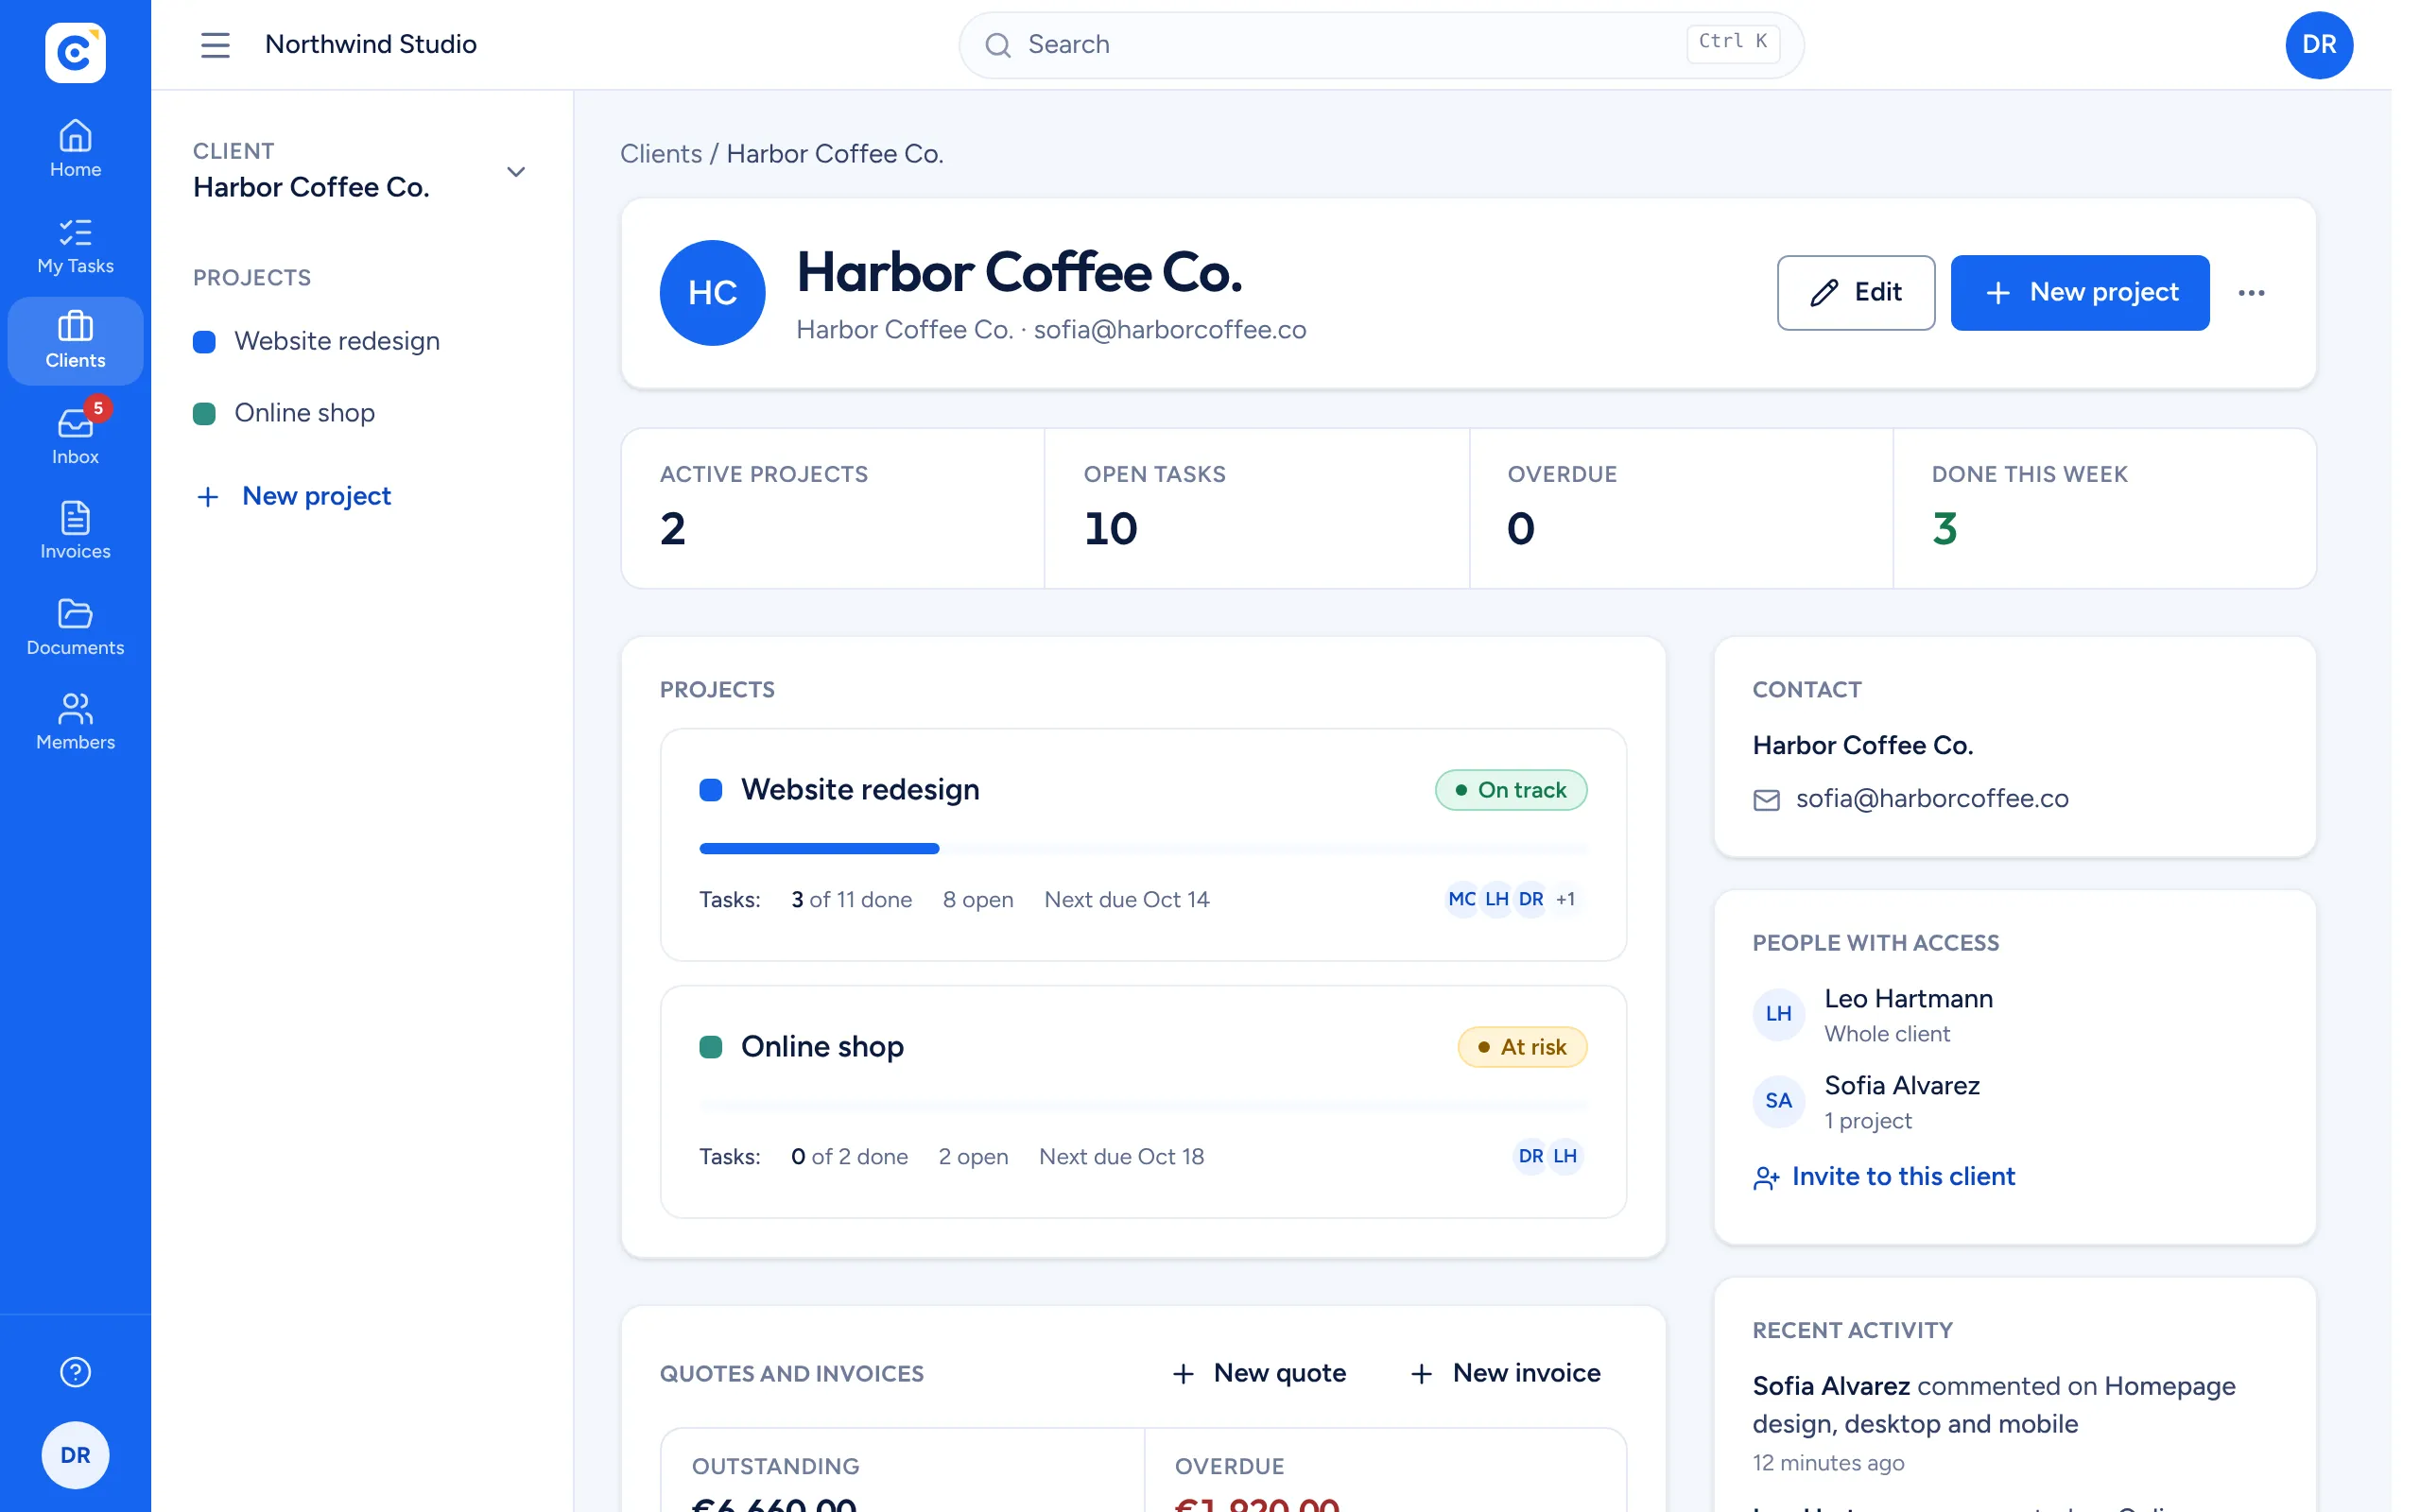
Each client can have several projects, like a website, a mobile app or a monthly retainer. A new project starts with To do, In progress and Done sections, which you can rename, add to or reorder at any time. Mark each project on track, at risk or on hold so everyone knows where it stands.
- Ready-made sections to start fast
- Project status and progress on the client page
- A Files tab with the project folder
Plan the work
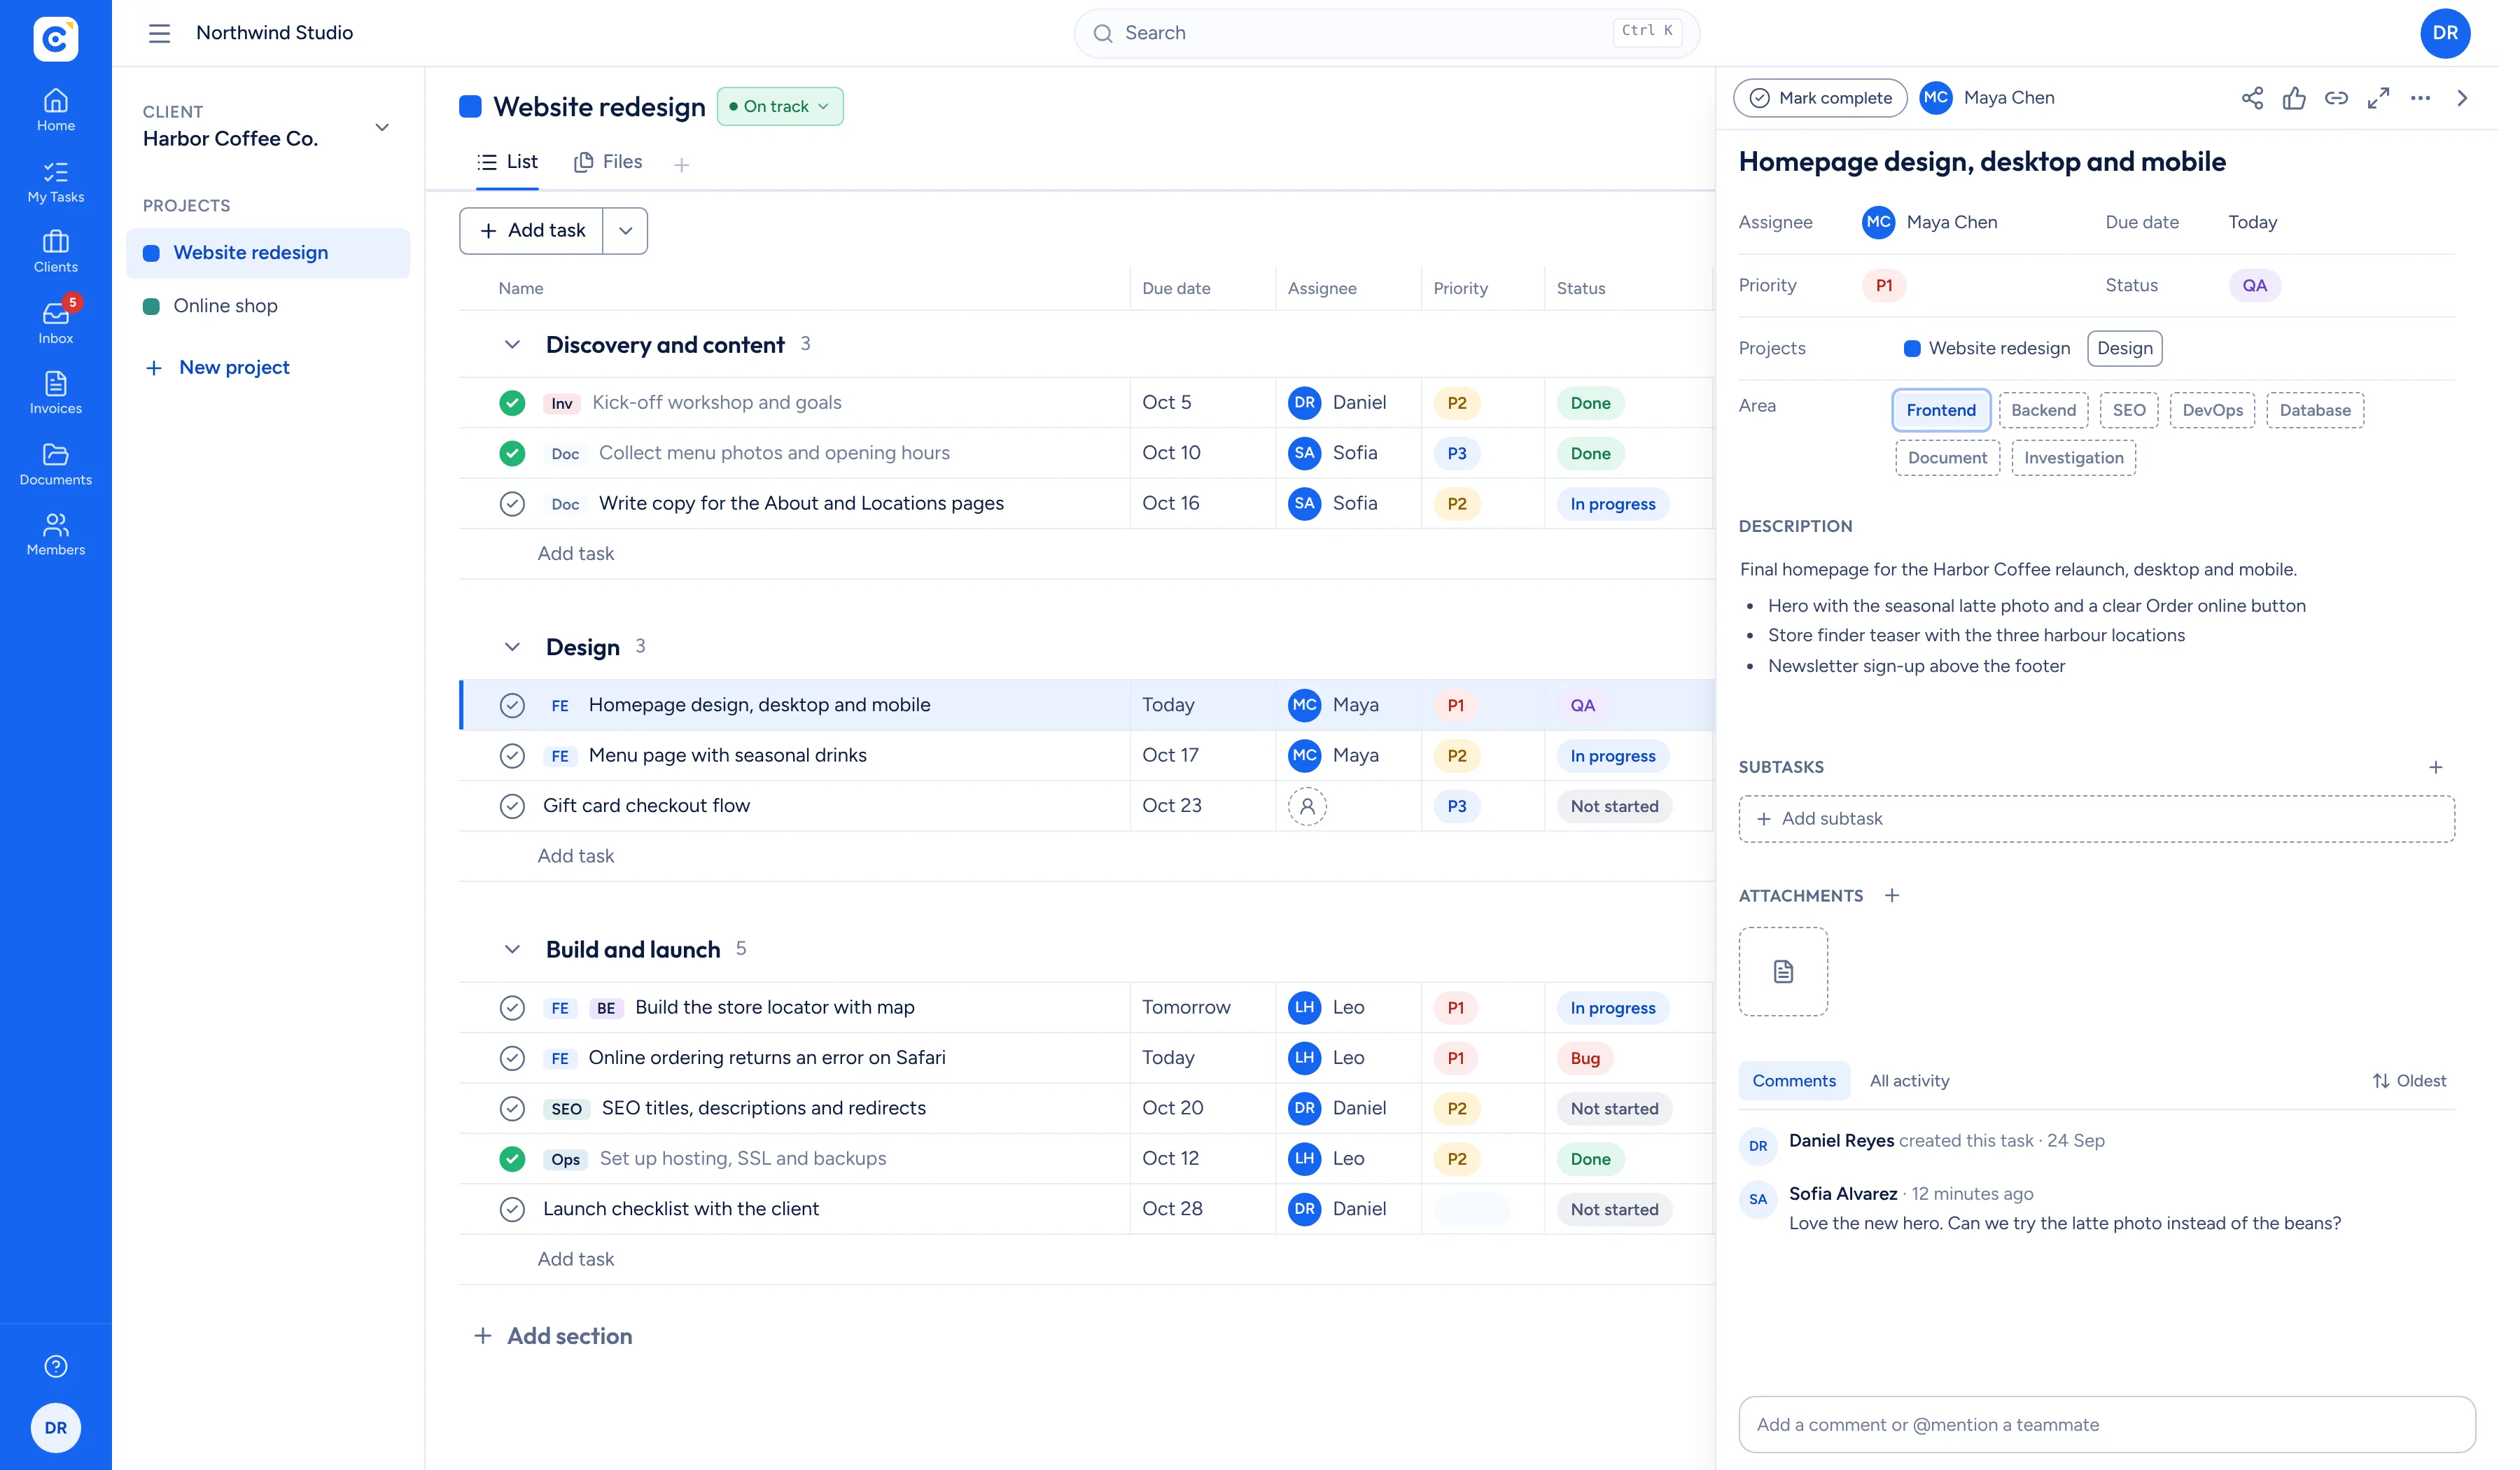
Break the project into tasks and drag them into the right section. Give each task an owner, a due date, a priority from P1 to P3 and a status, write a description your client can understand and attach the files that go with it. Everyone sees their own work in My tasks.
- Priority and status columns you can sort
- Descriptions, comments and attachments
- My tasks across every project
Invite your client
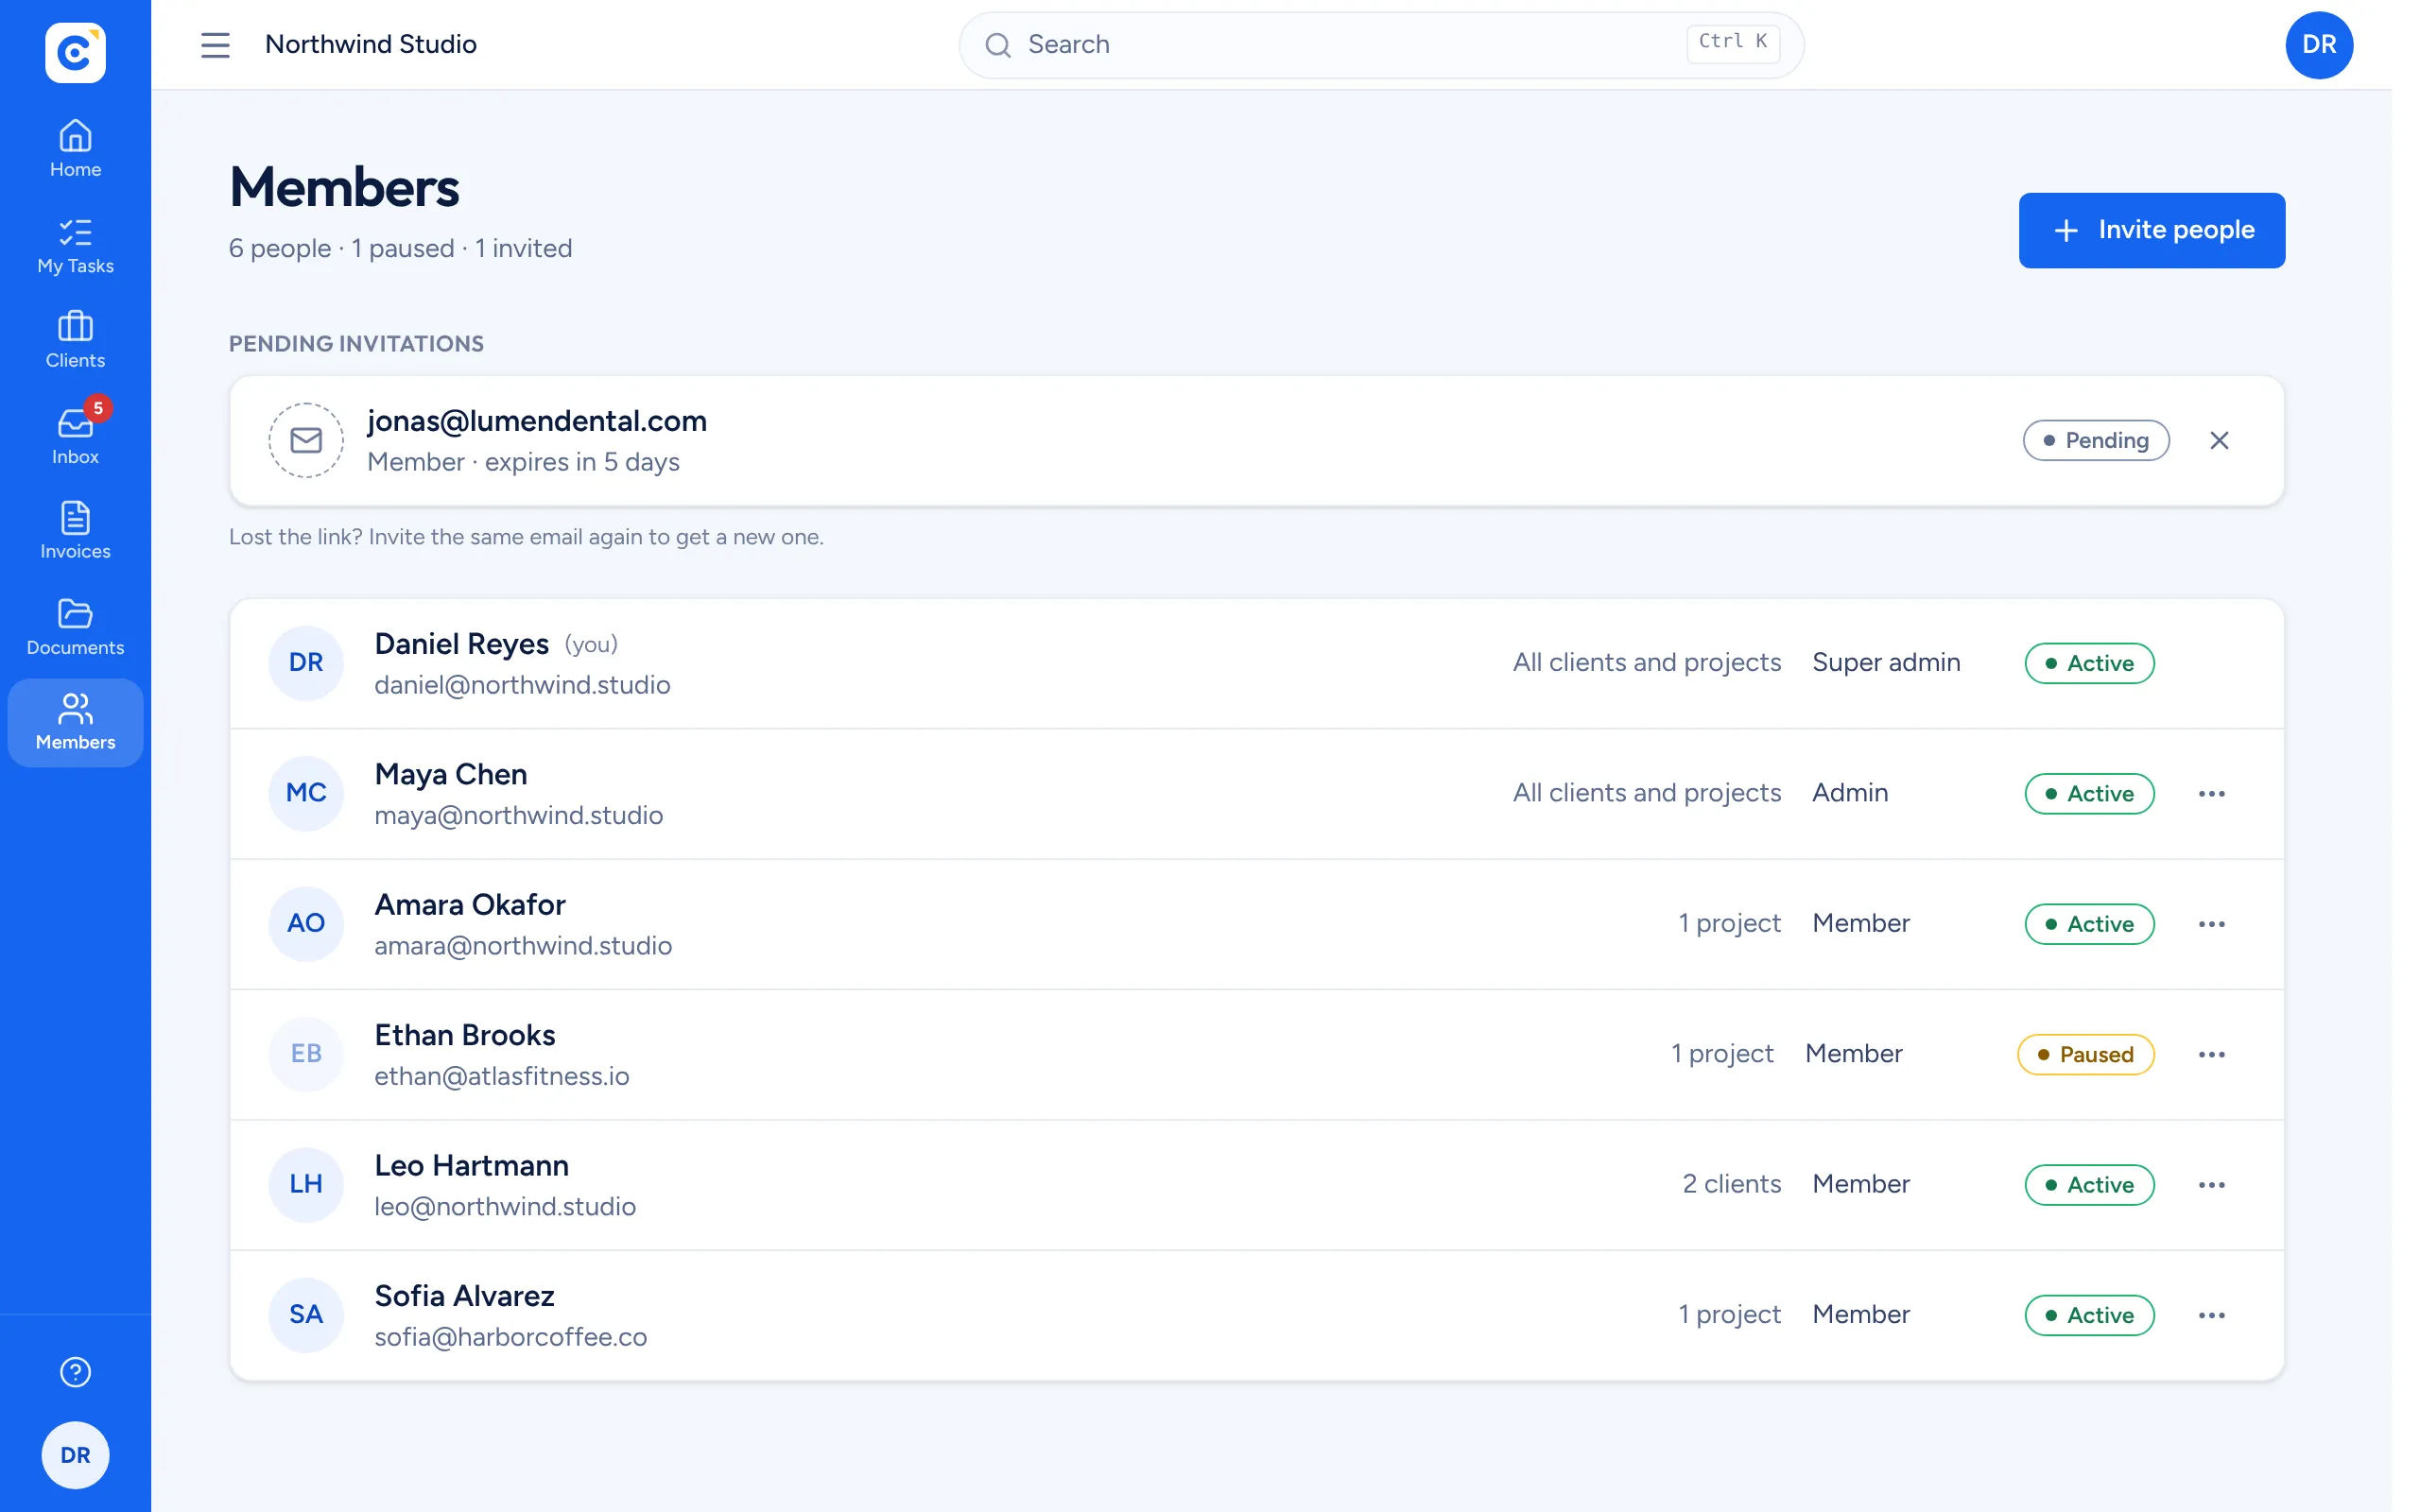
Invite your client by email and choose whether they see the whole client or selected projects. They create a free account and land straight in the work you shared. From then on you both work in the same list: when they add a request or you finish a task, the other person sees it at once.
- Invite by email to a client or selected projects
- Live updates, no refresh
- Change or remove access at any time
Quote and invoice
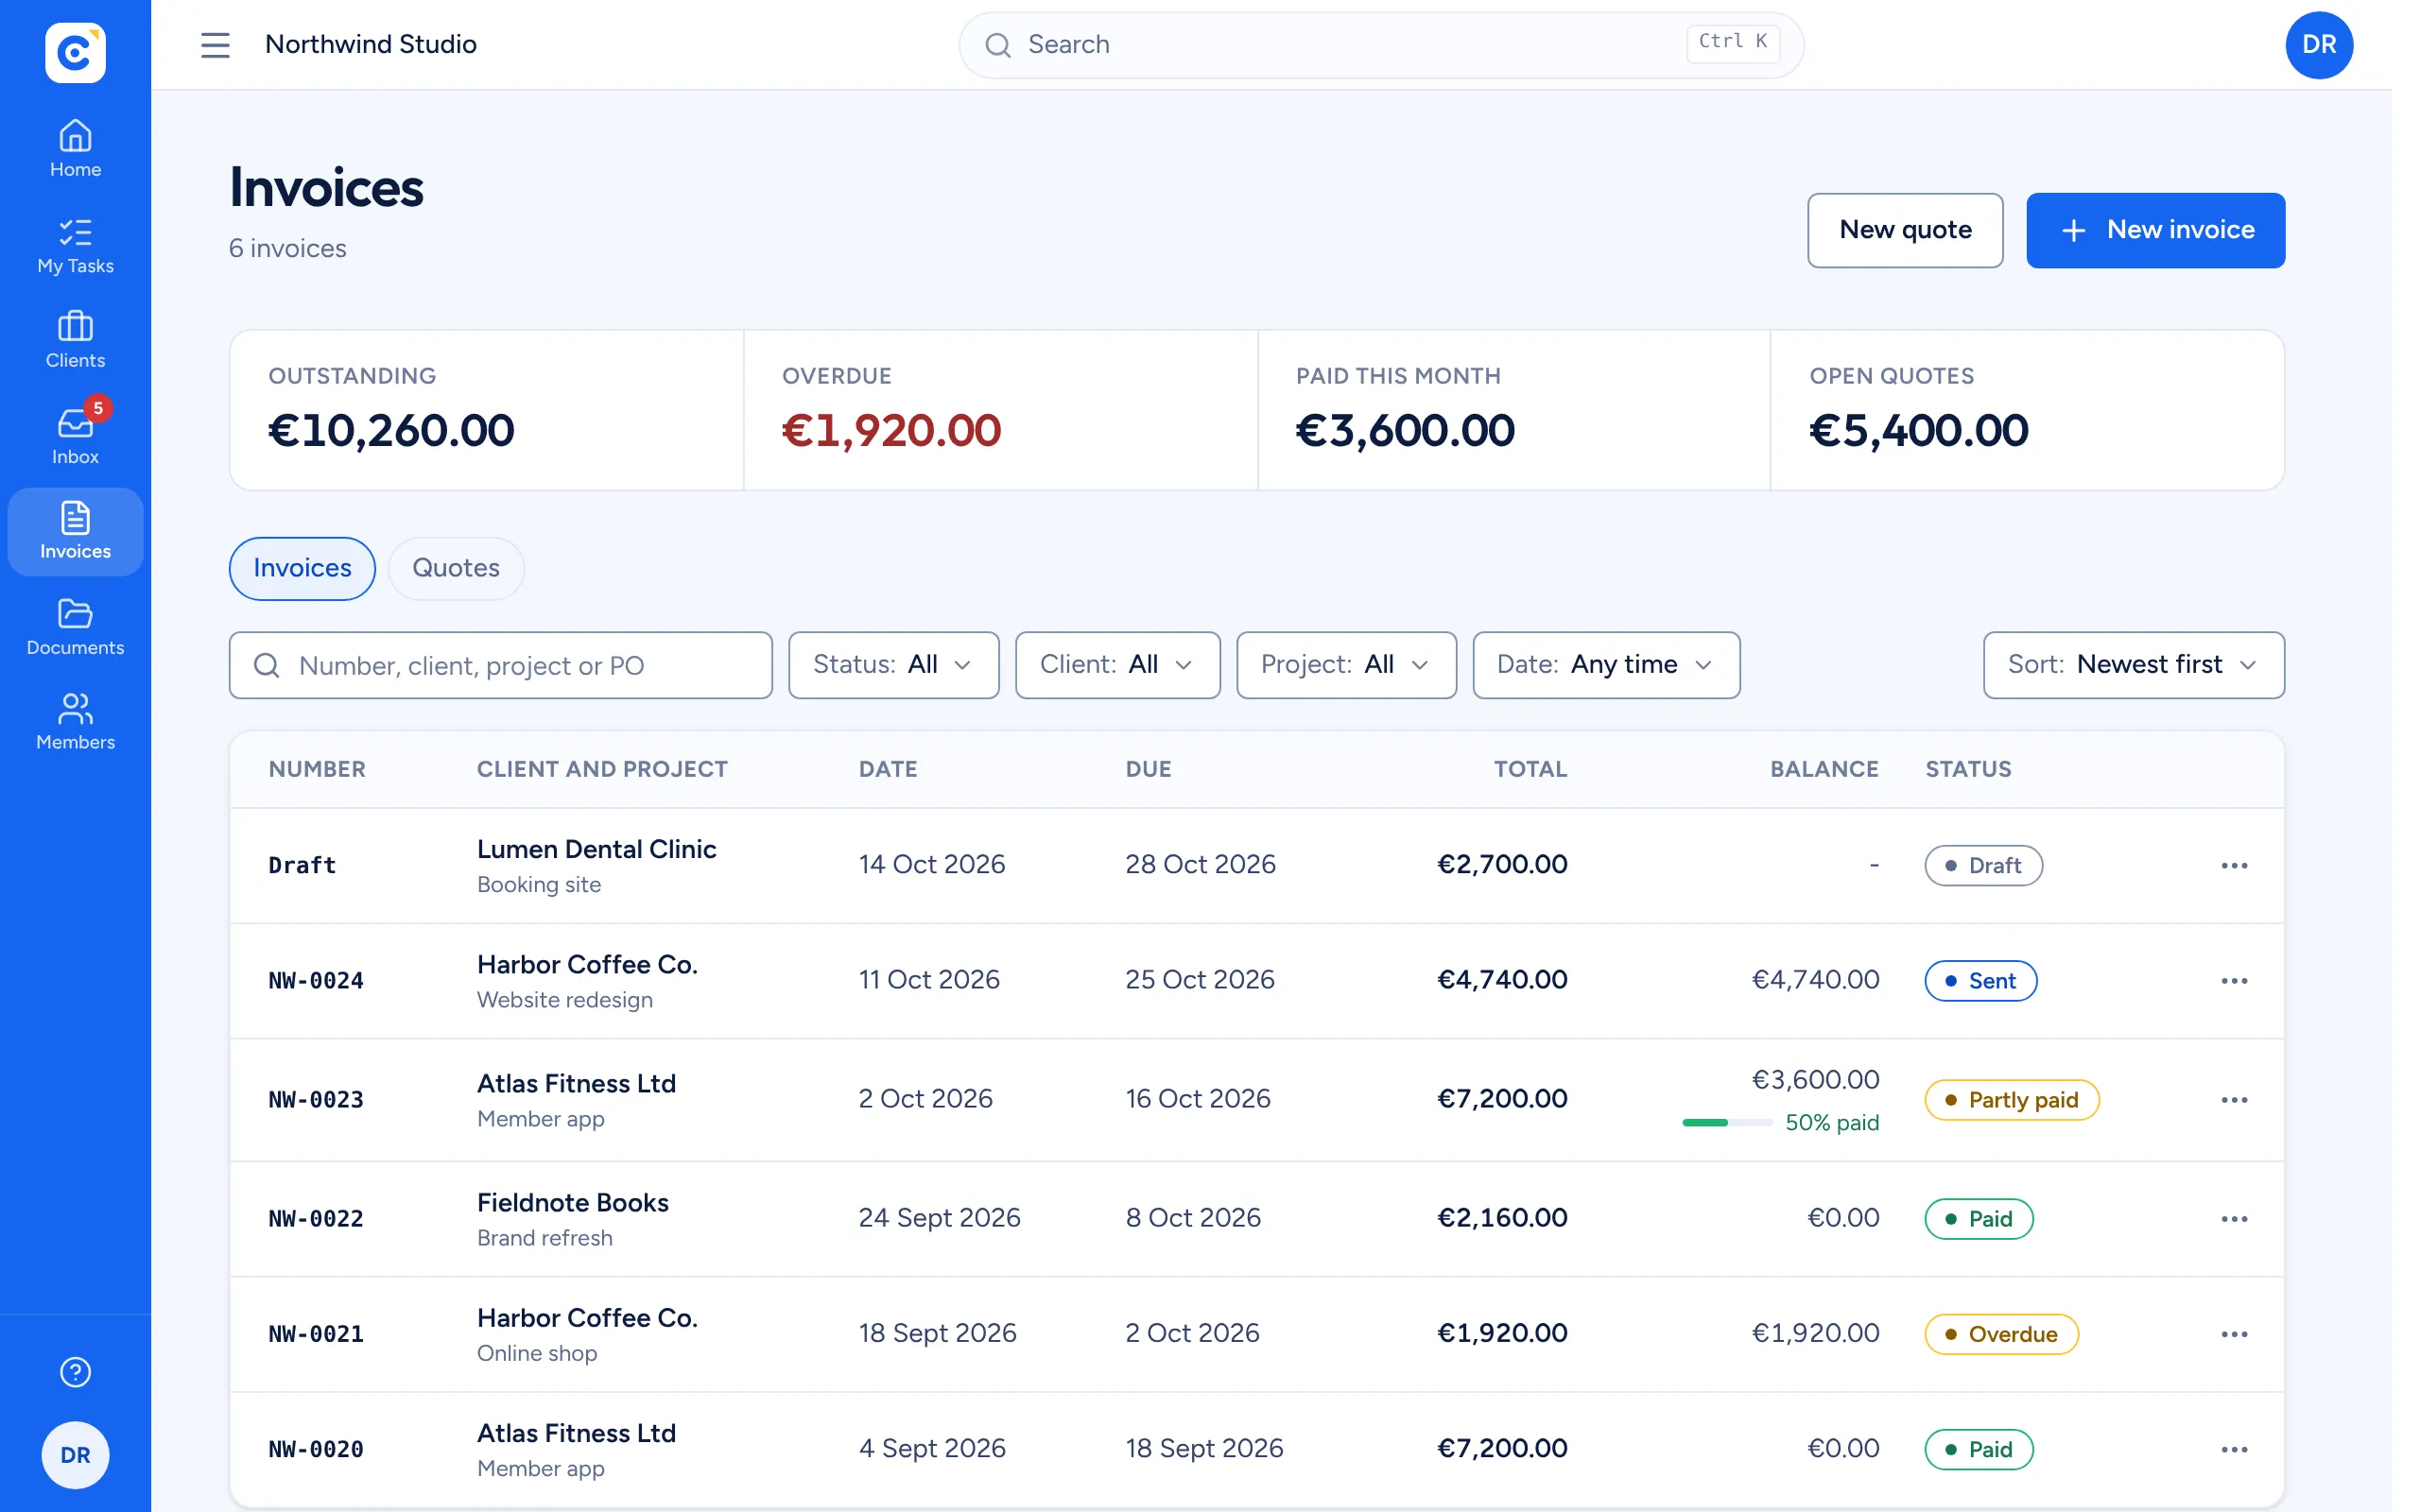
When the scope is agreed, create a quote for the project. Once it is accepted, convert it into an invoice in one step, download a professional PDF and send it. Record payments as they arrive, including instalments, and Clientfolk shows what is outstanding and what is overdue.
- Your numbering, tax rate and payment terms
- Partial payments and balances
- Outstanding and overdue totals at a glance
Ready for your first client?
Create your organization, share a live project and send your first invoice. It is free, and it takes a few minutes.
Get started free